SHEET METAL SHELVES
SKILLS USED:
DFM (sheet metal), rapid prototyping, waterjetting
TIMELINE :
1 week, April 2024
COURSE:
24-672: DIY Design and Fabrication
BUDGET:
$40
FINAL DESIGN
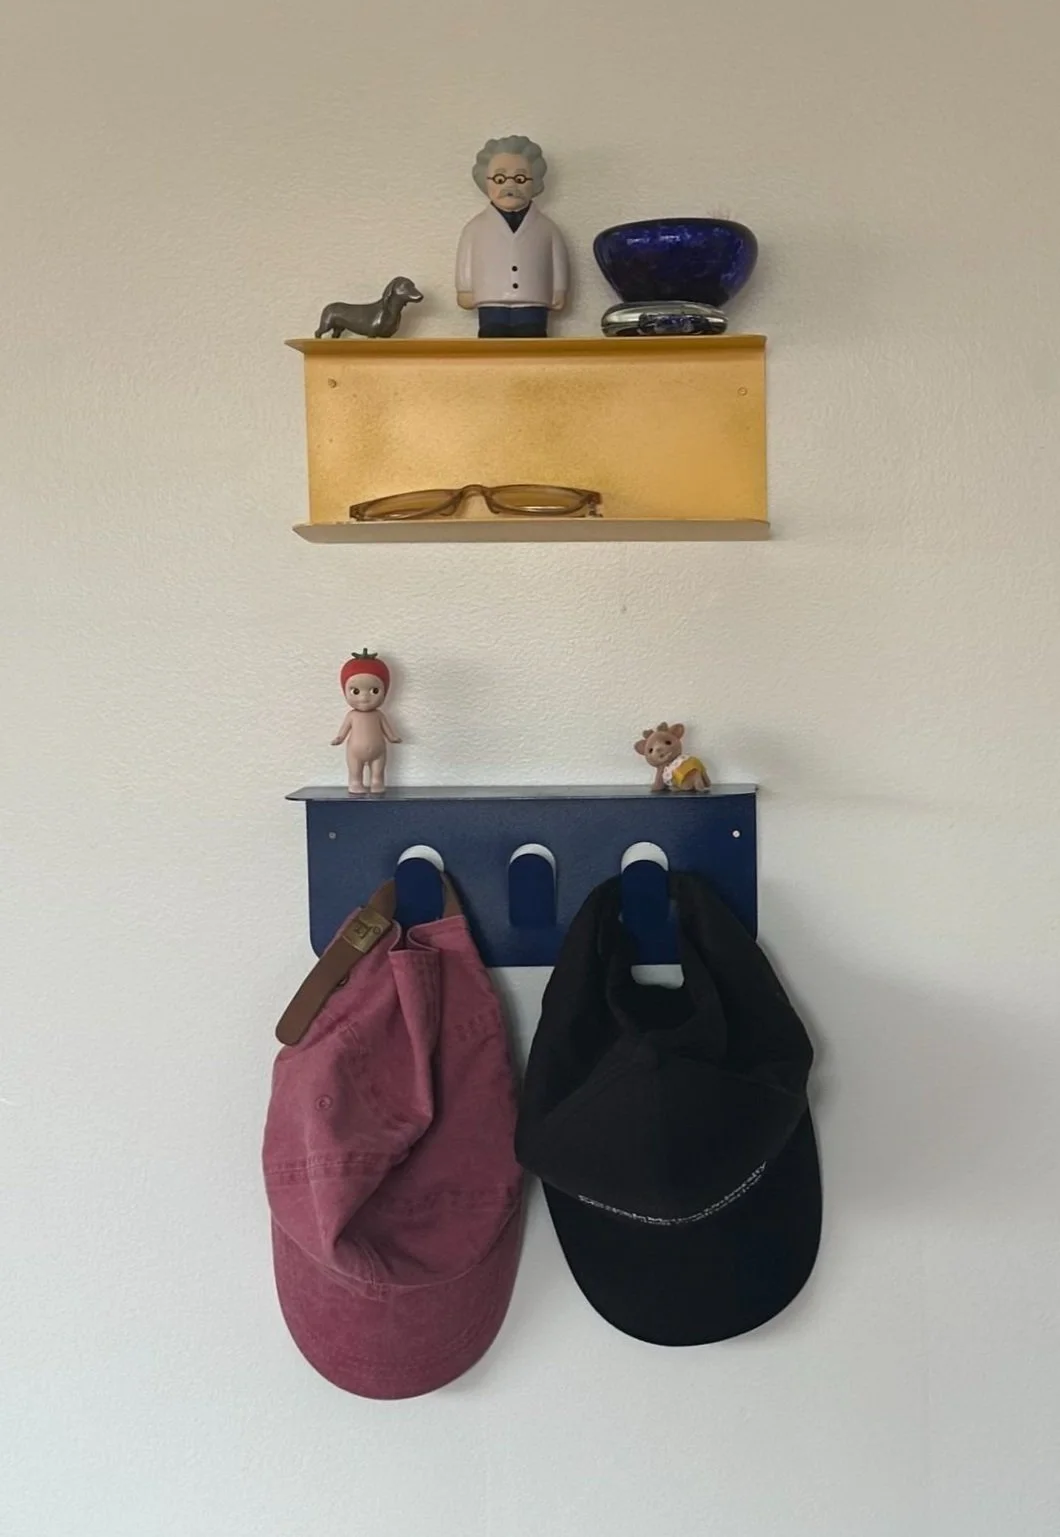
Then, I lightly and evenly sandblasted both pieces so that the spray paint would adhere well to the metal. Next, I spray painted them with layers of primer, the colors I picked out (I went with a bold yellow and blue), and a sealant.


IDEATION
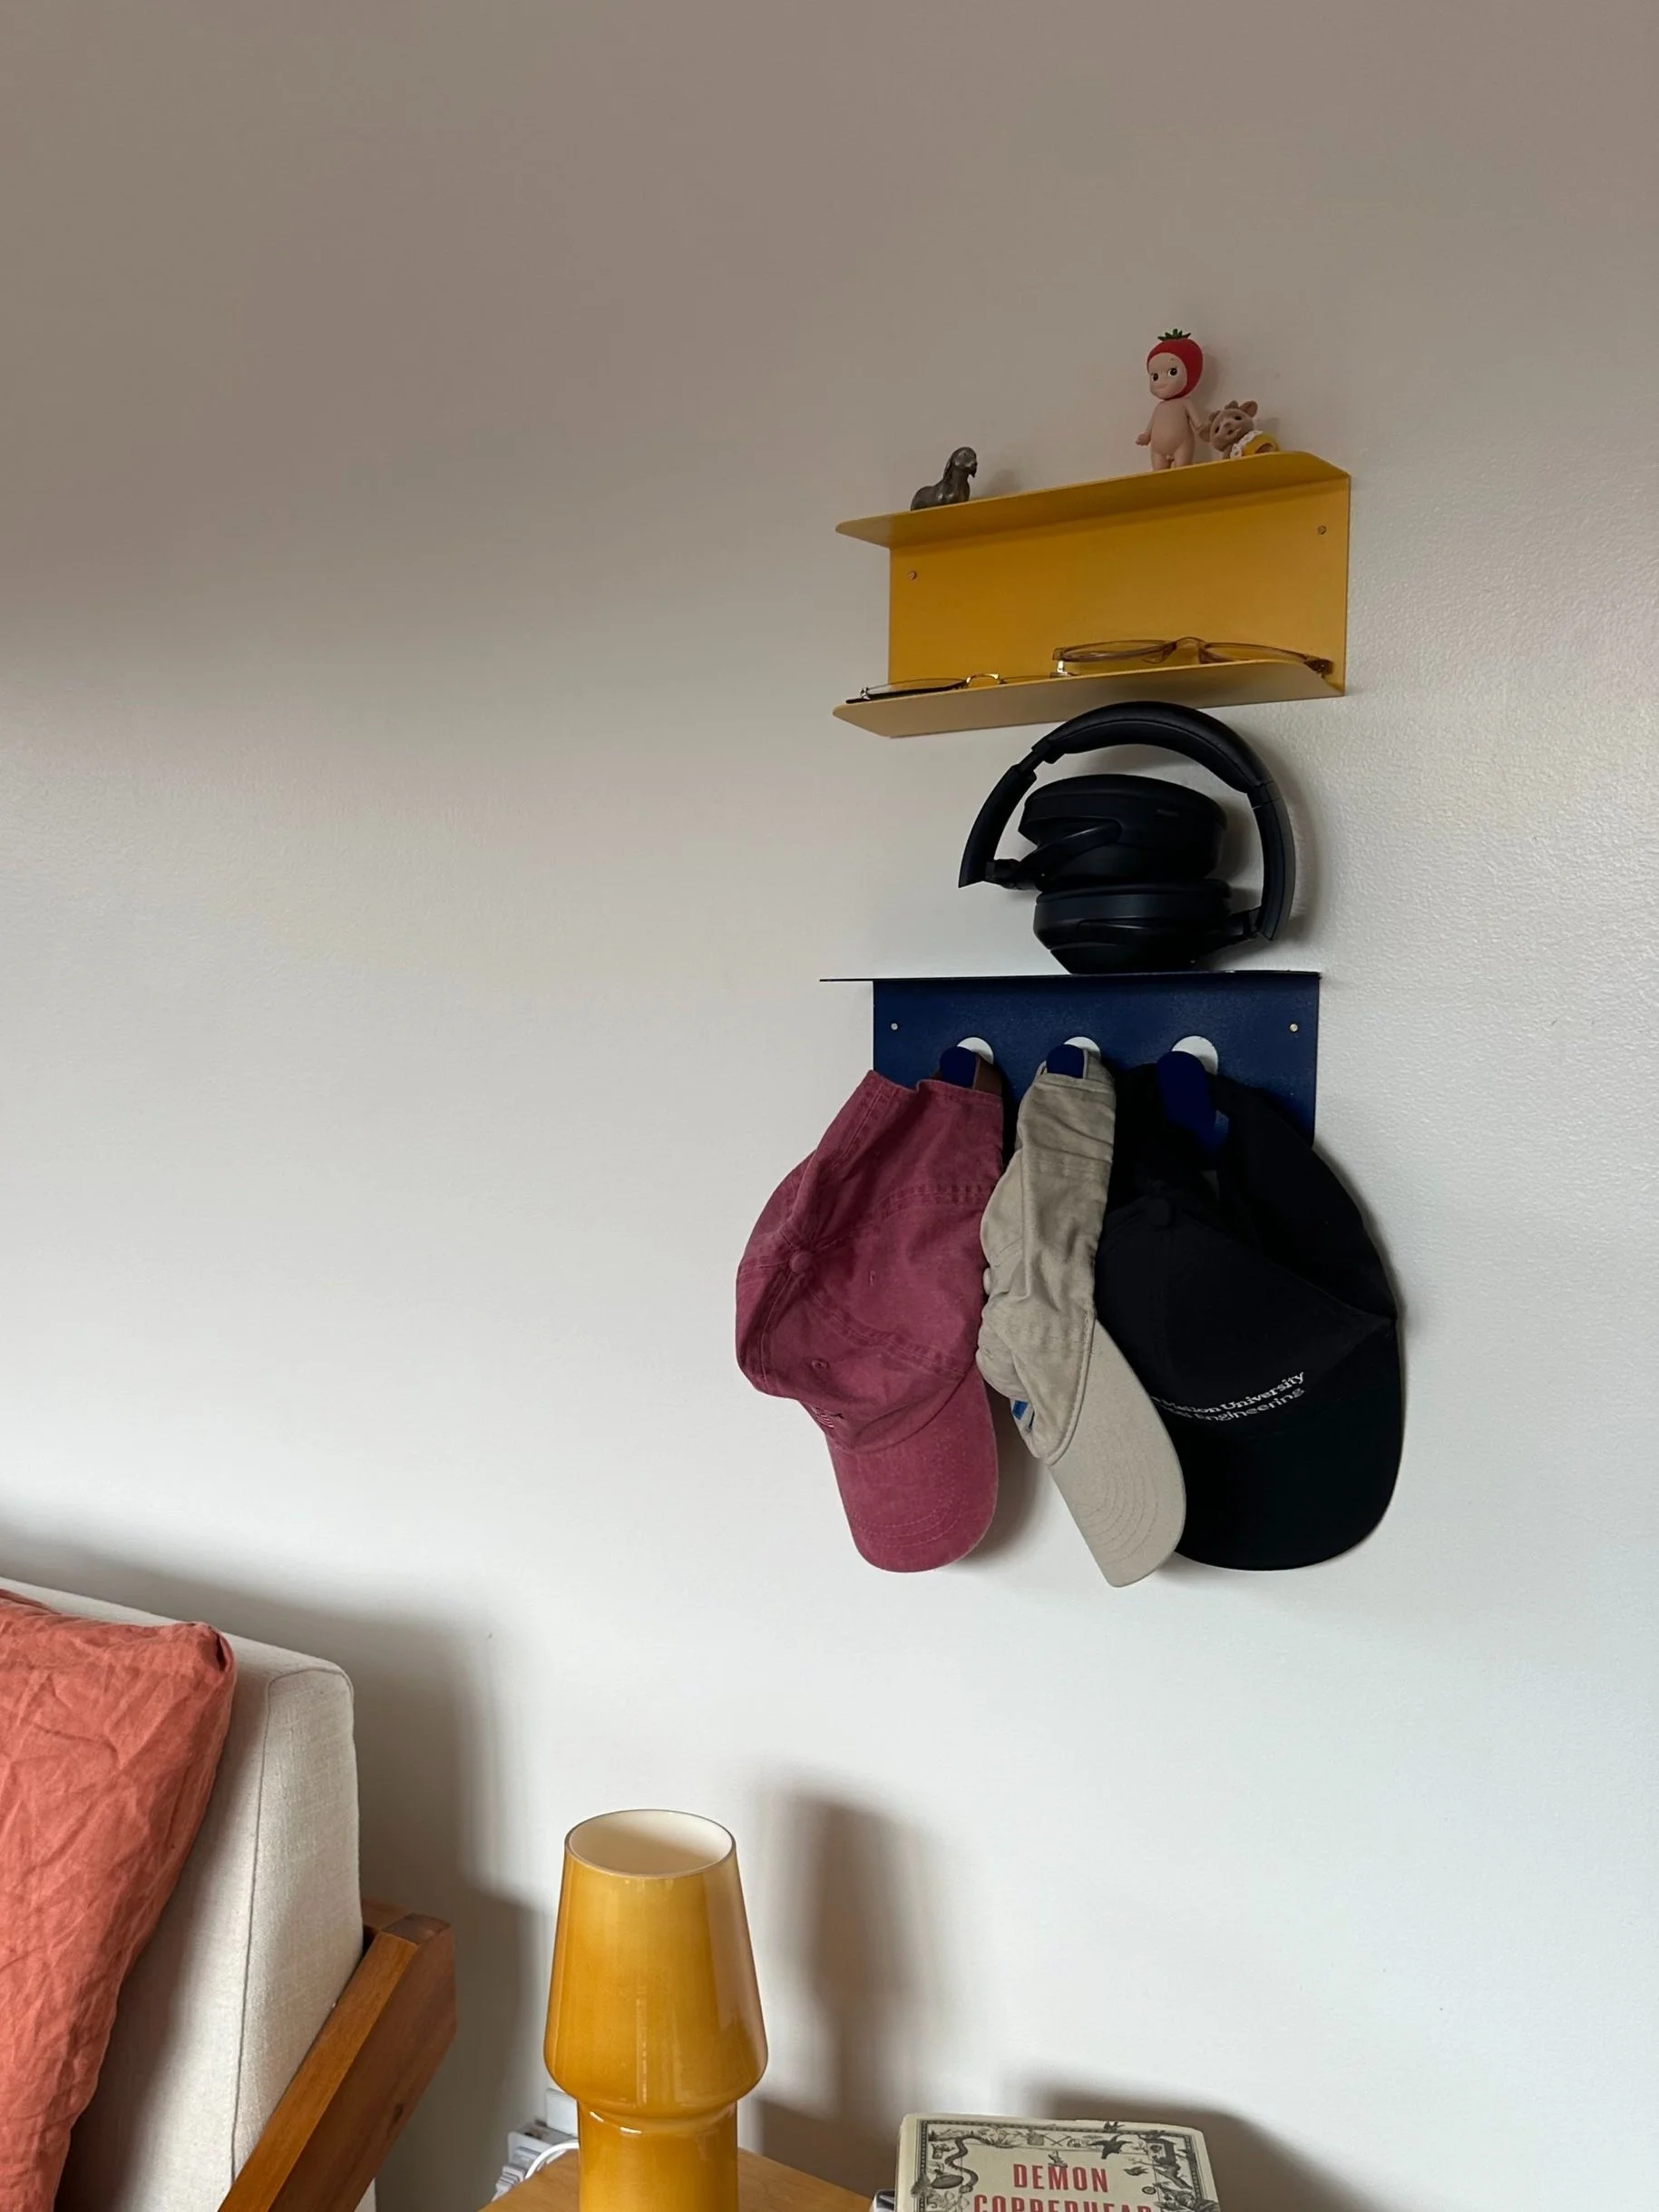
Inspired by shelves from Bludot and West Elm, but with a modified goal to learn more about designing for manufacturing with sheet metal, and to be used as a type of bedside storage rather than as an entryway hook rack. I really wanted a type of bedside storage that was customized for my particular needs, by having a place to put my glasses at the end of the day, hooks for my hats, and a place to display various momentos.
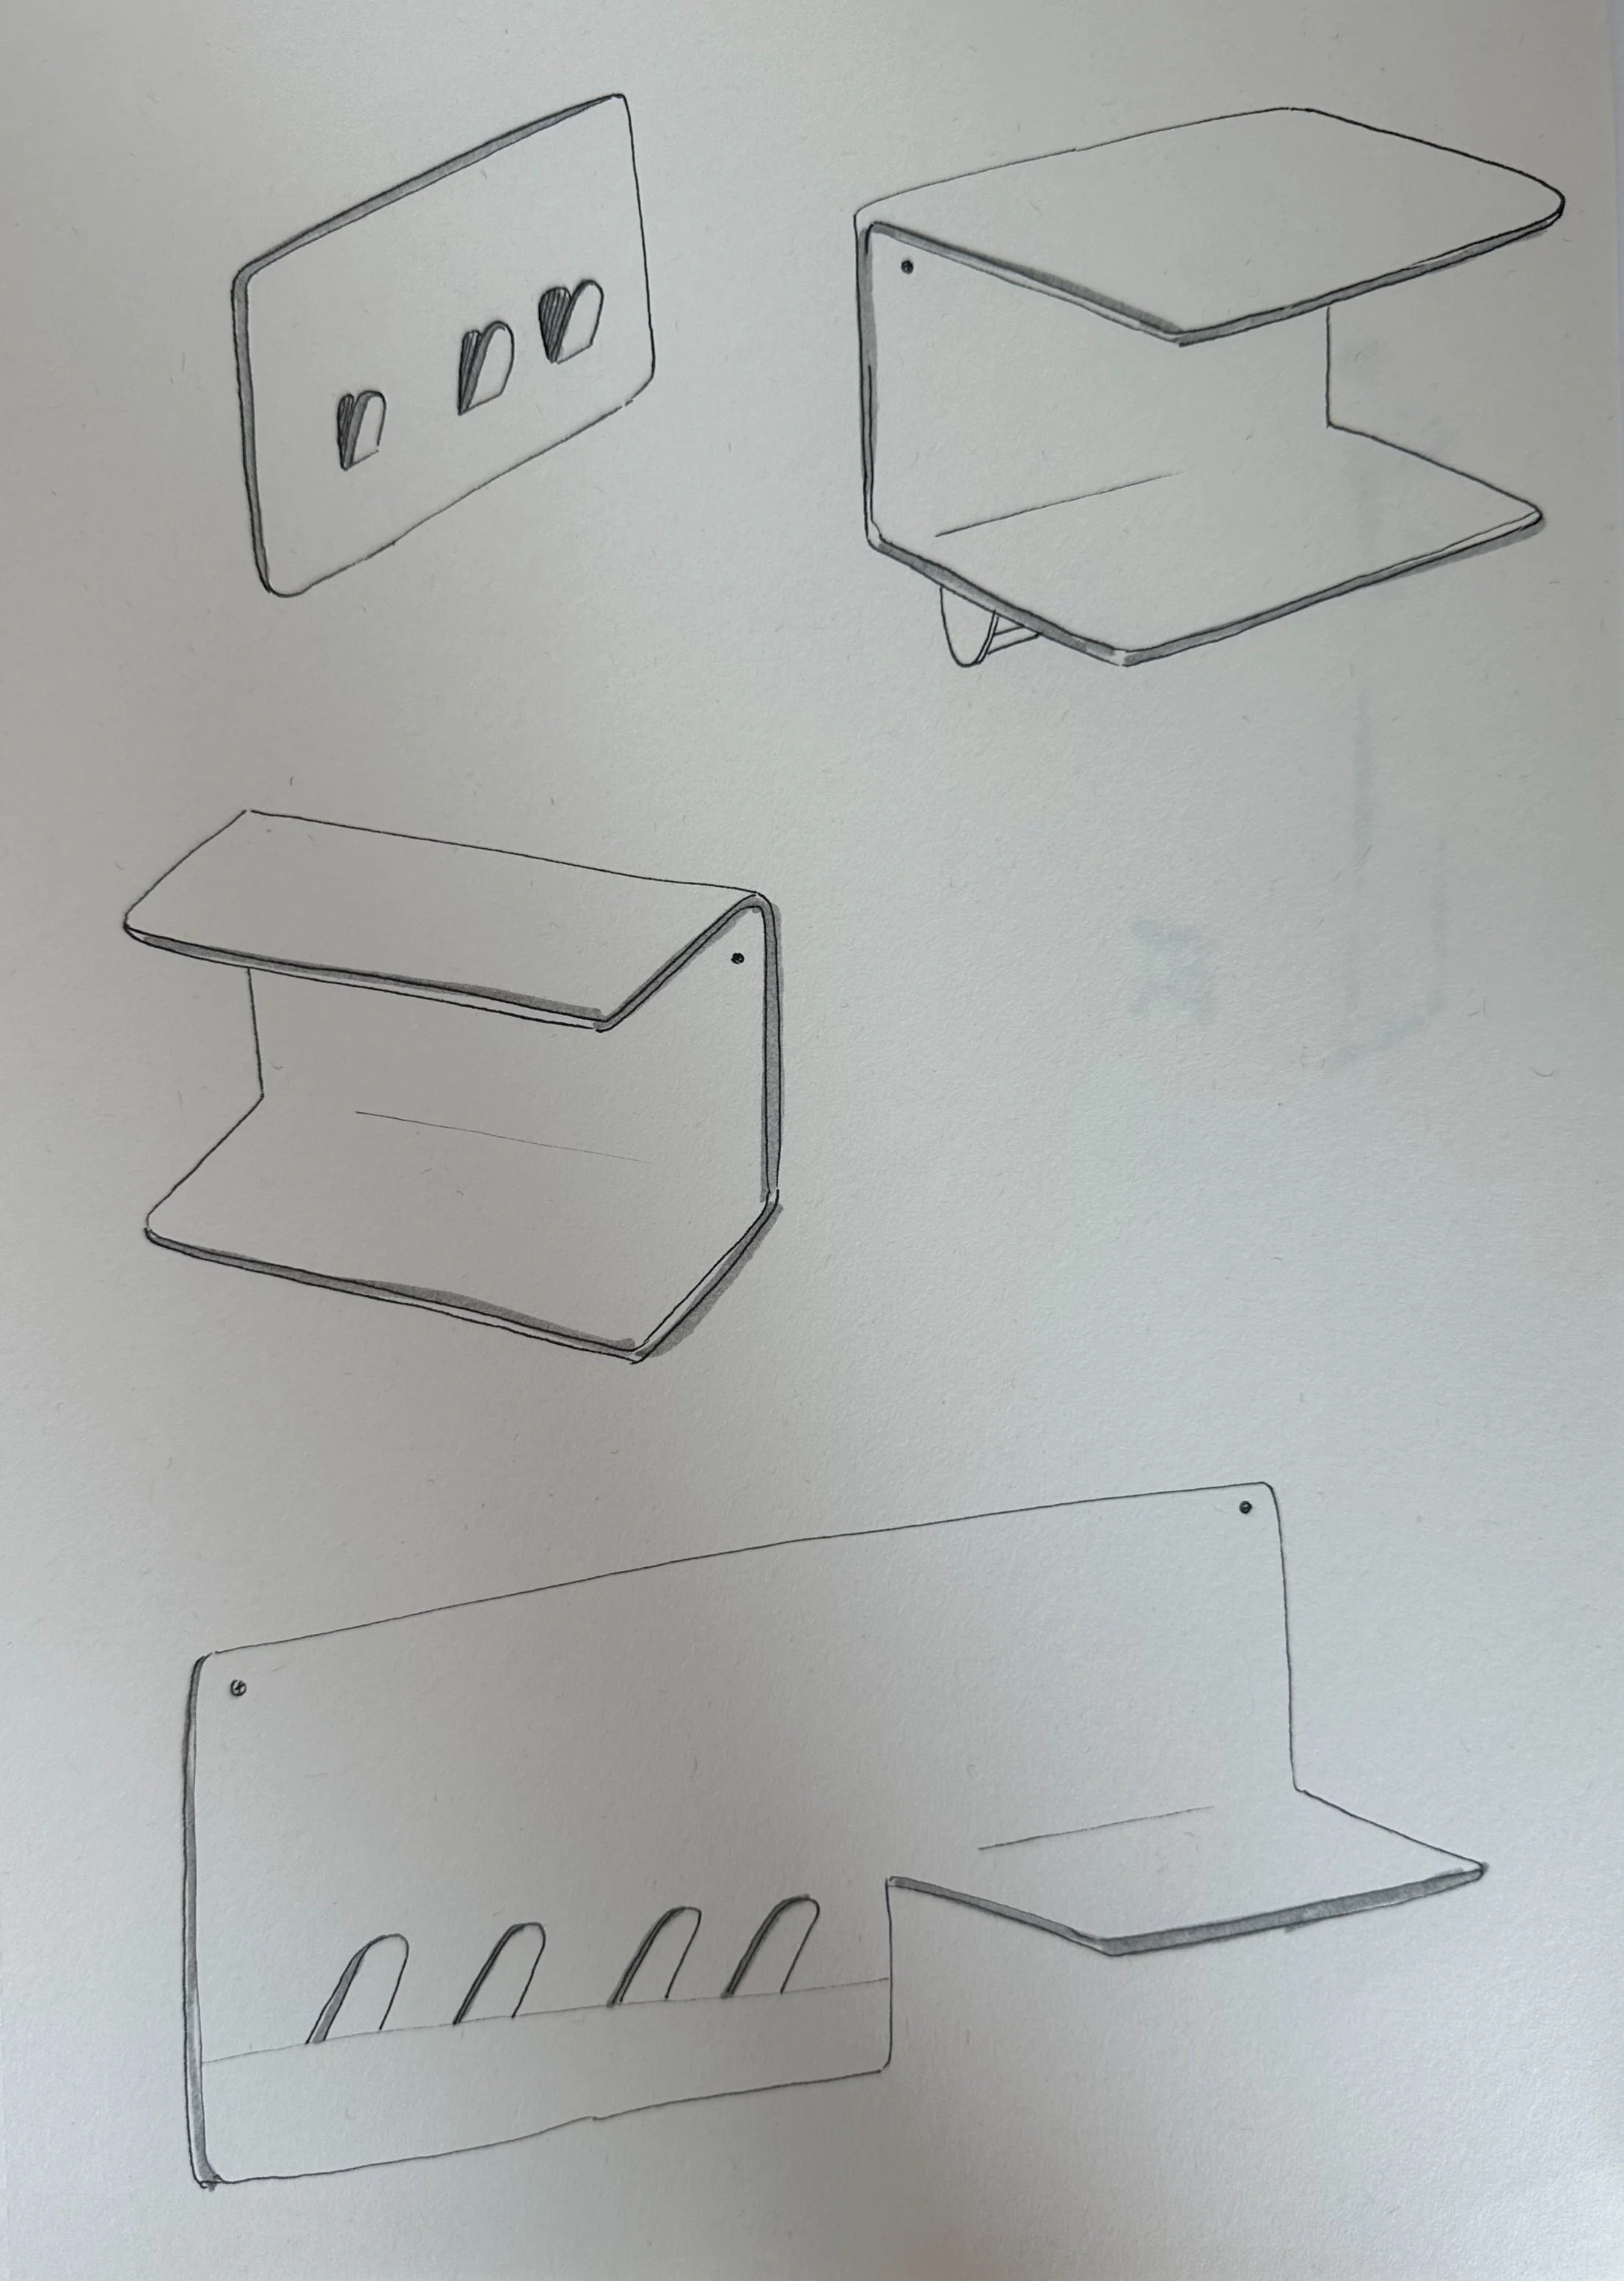
I began my design process by drawing concept sketches, keeping in mind that they’d be manufactured from sheet metal.
PROJECT TAKEAWAYS
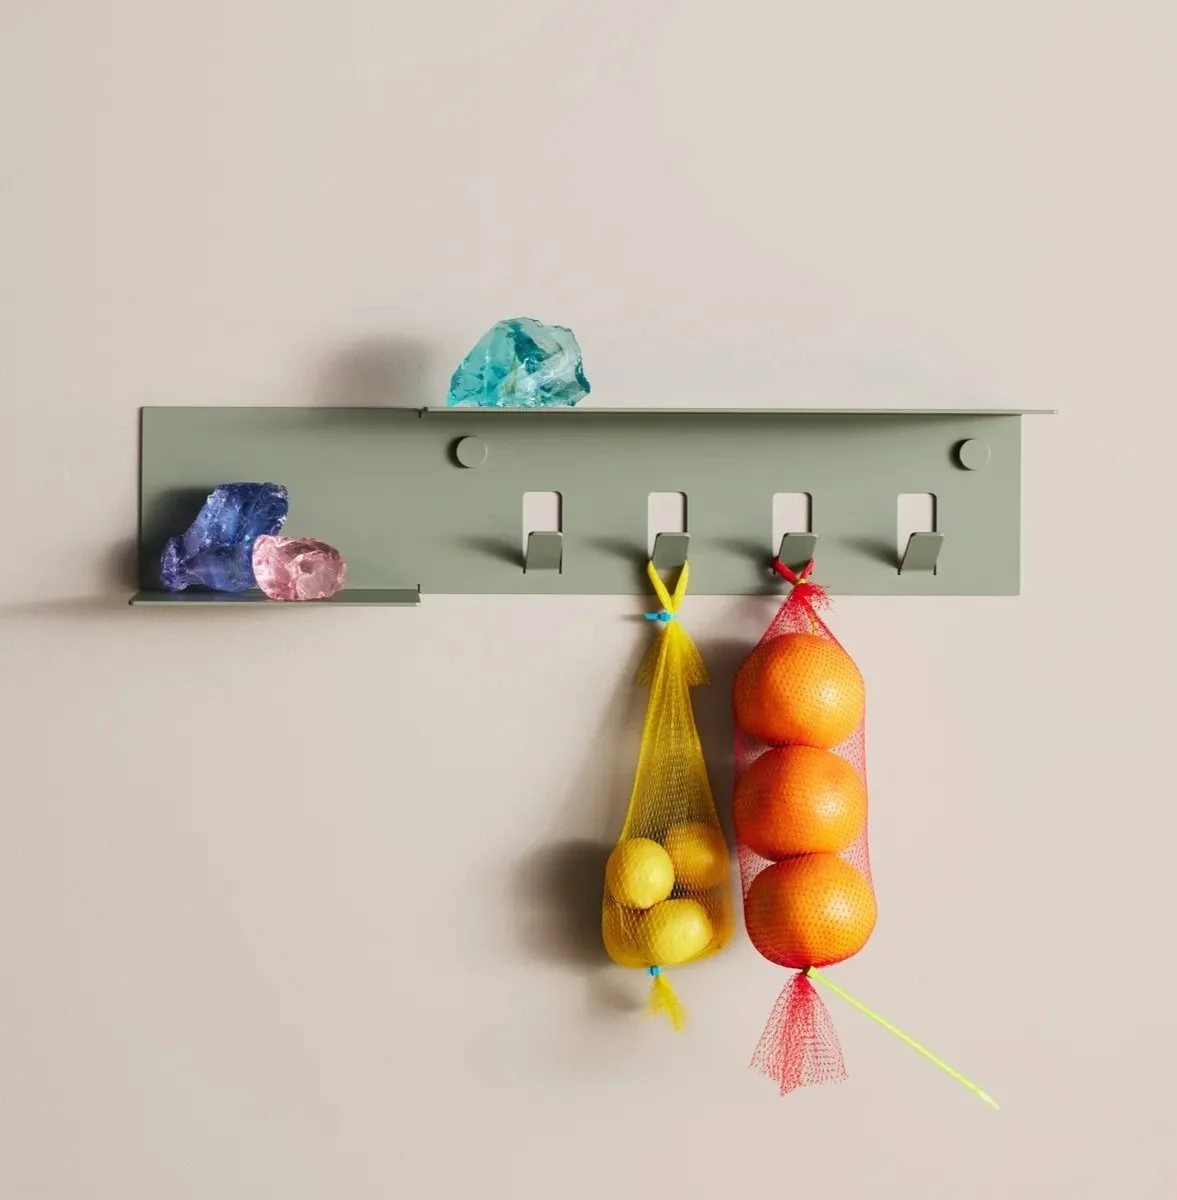
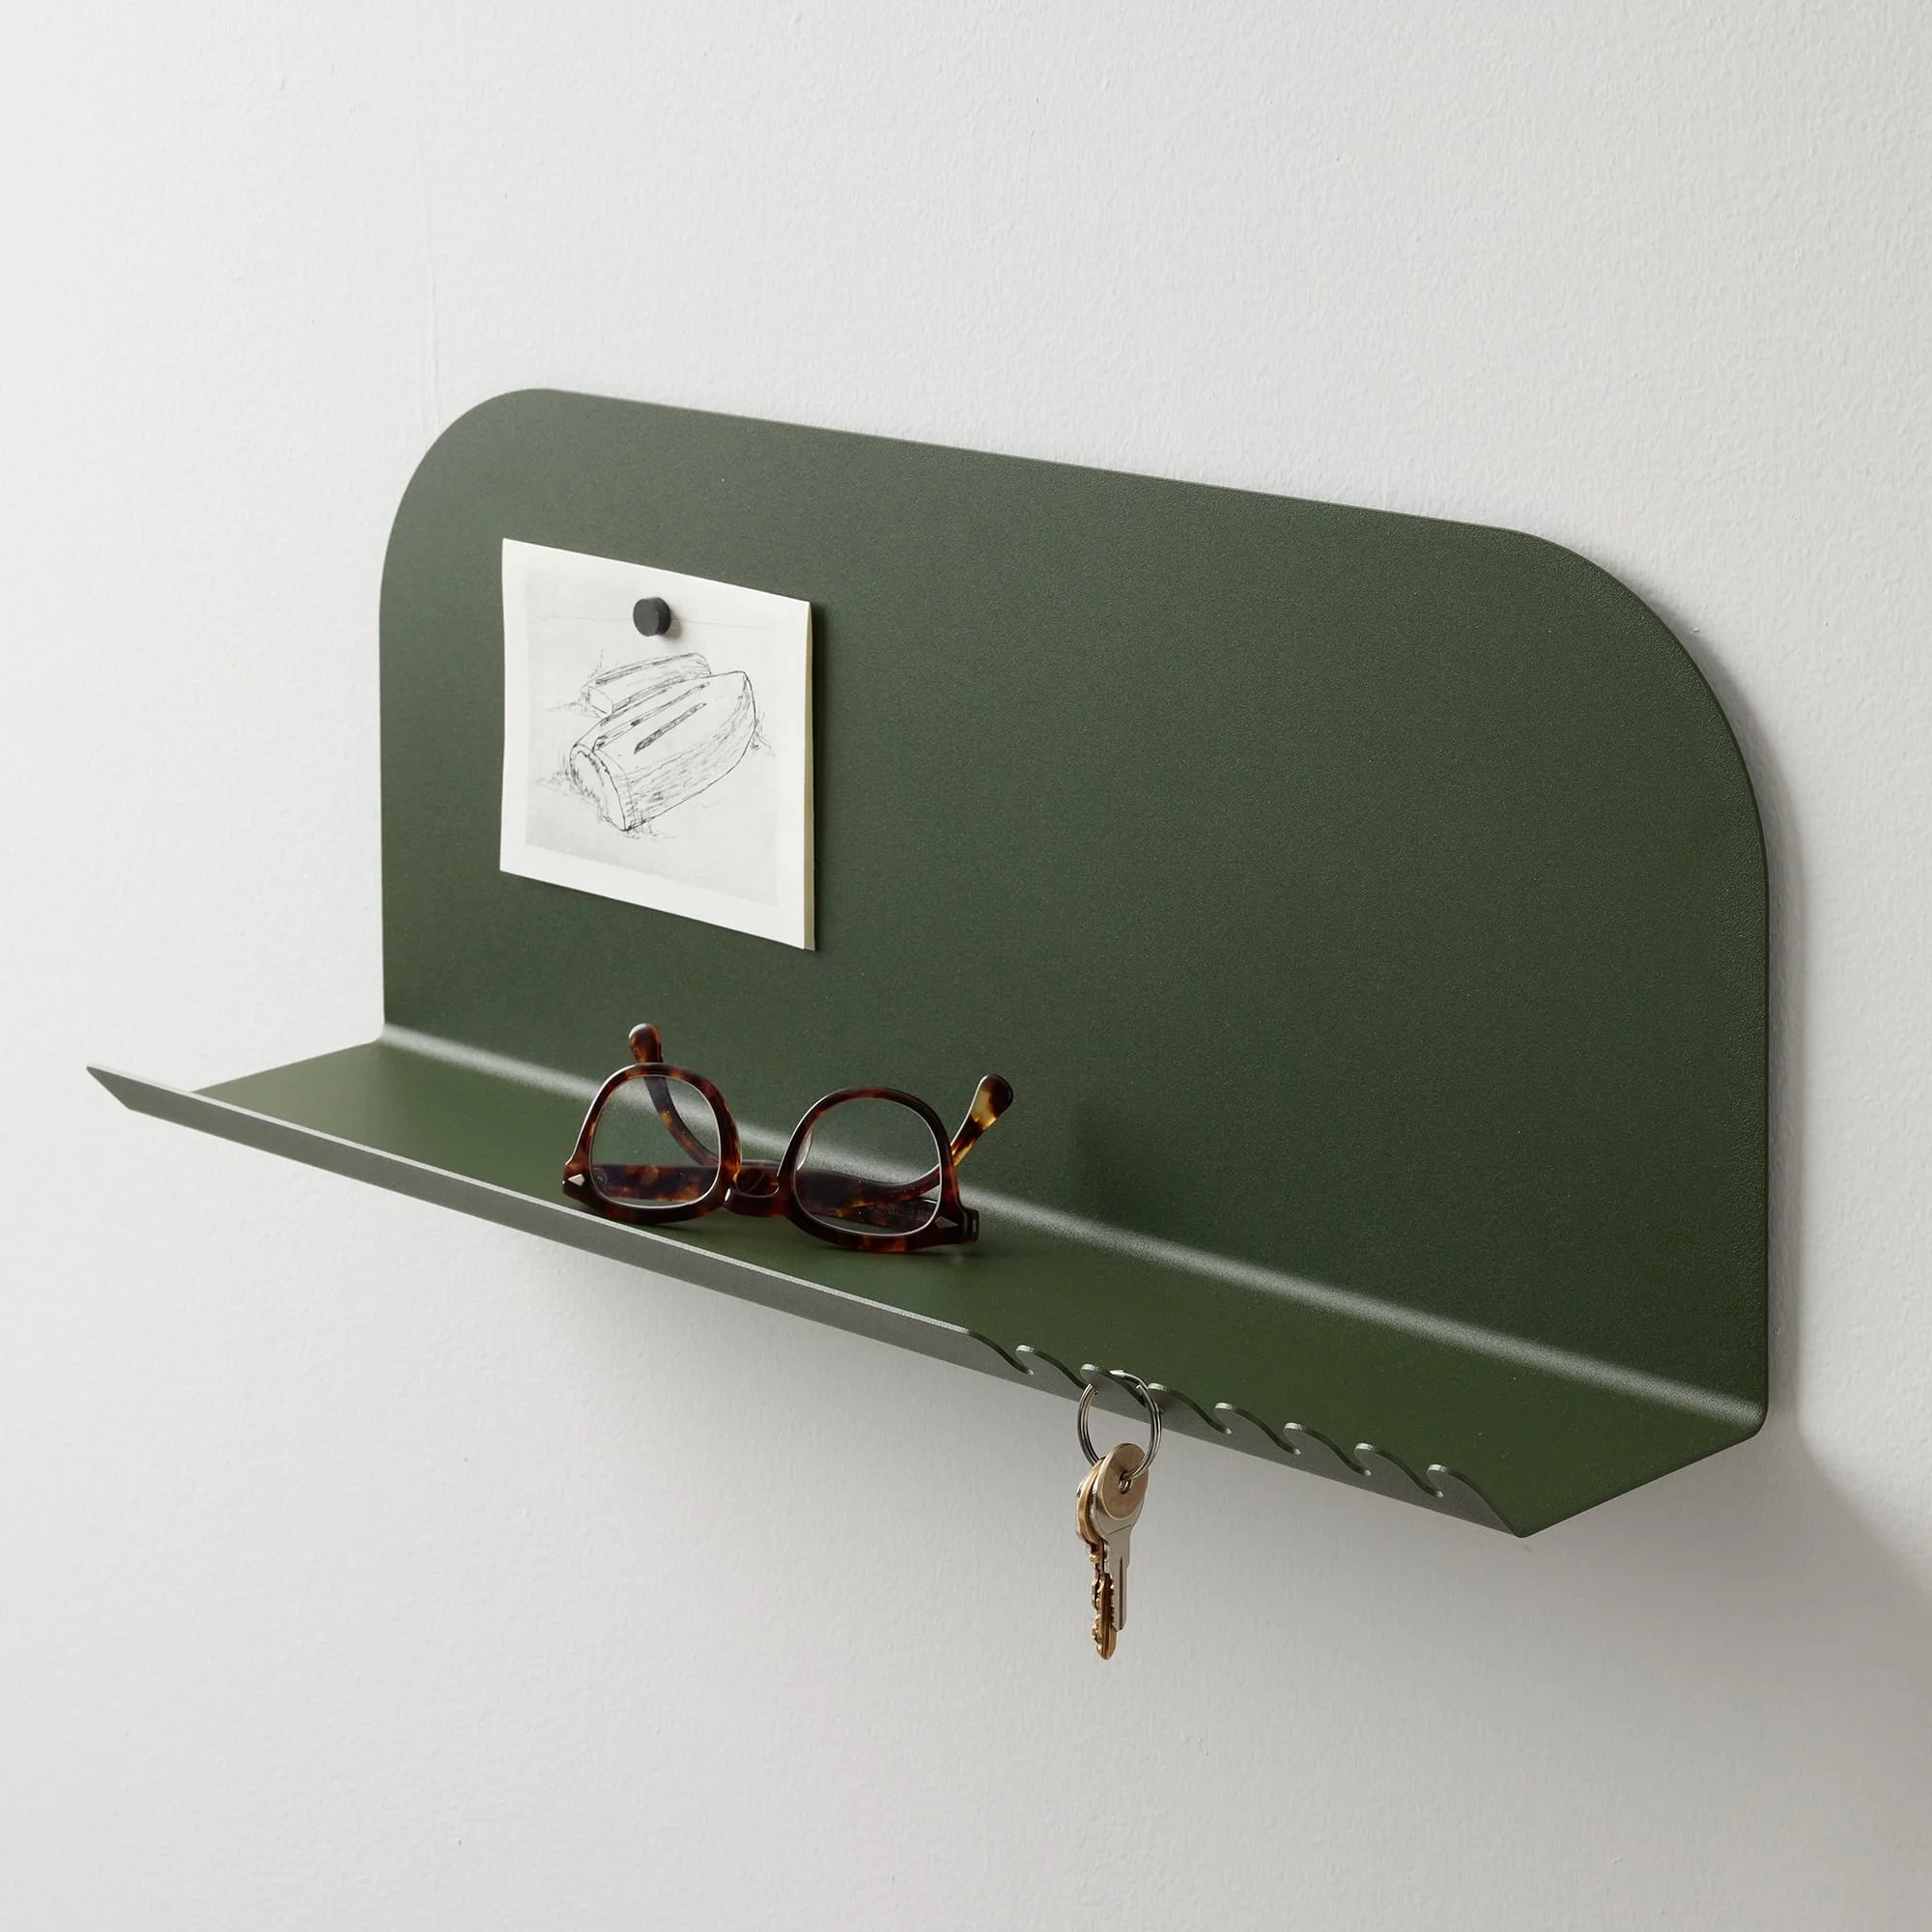
The West Elm shelf (left) and the Bludot coat rack (right) which I drew inspiration from.
This project made me realize how simple and fun it was to design and fabricate shelves out of sheet metal. I’m planning on designing a larger set of sheet metal shelves for my books and hope to learn more about designing for sheet metal assemblies through that! This was also my first time waterjetting, and I now hope to waterjet much more, since it’s so simple and speedy.
FABRICATION
Quick concept sketches
I opted to go with two of the sketched designs, and made a quick .dxf file on SolidWorks for the flat pattern of each shelf. I kept each design to have a maximum flat-pattern space of 12x12 inches, as that is the maximum size sheet which would could be water jet in the CMU makerspace.
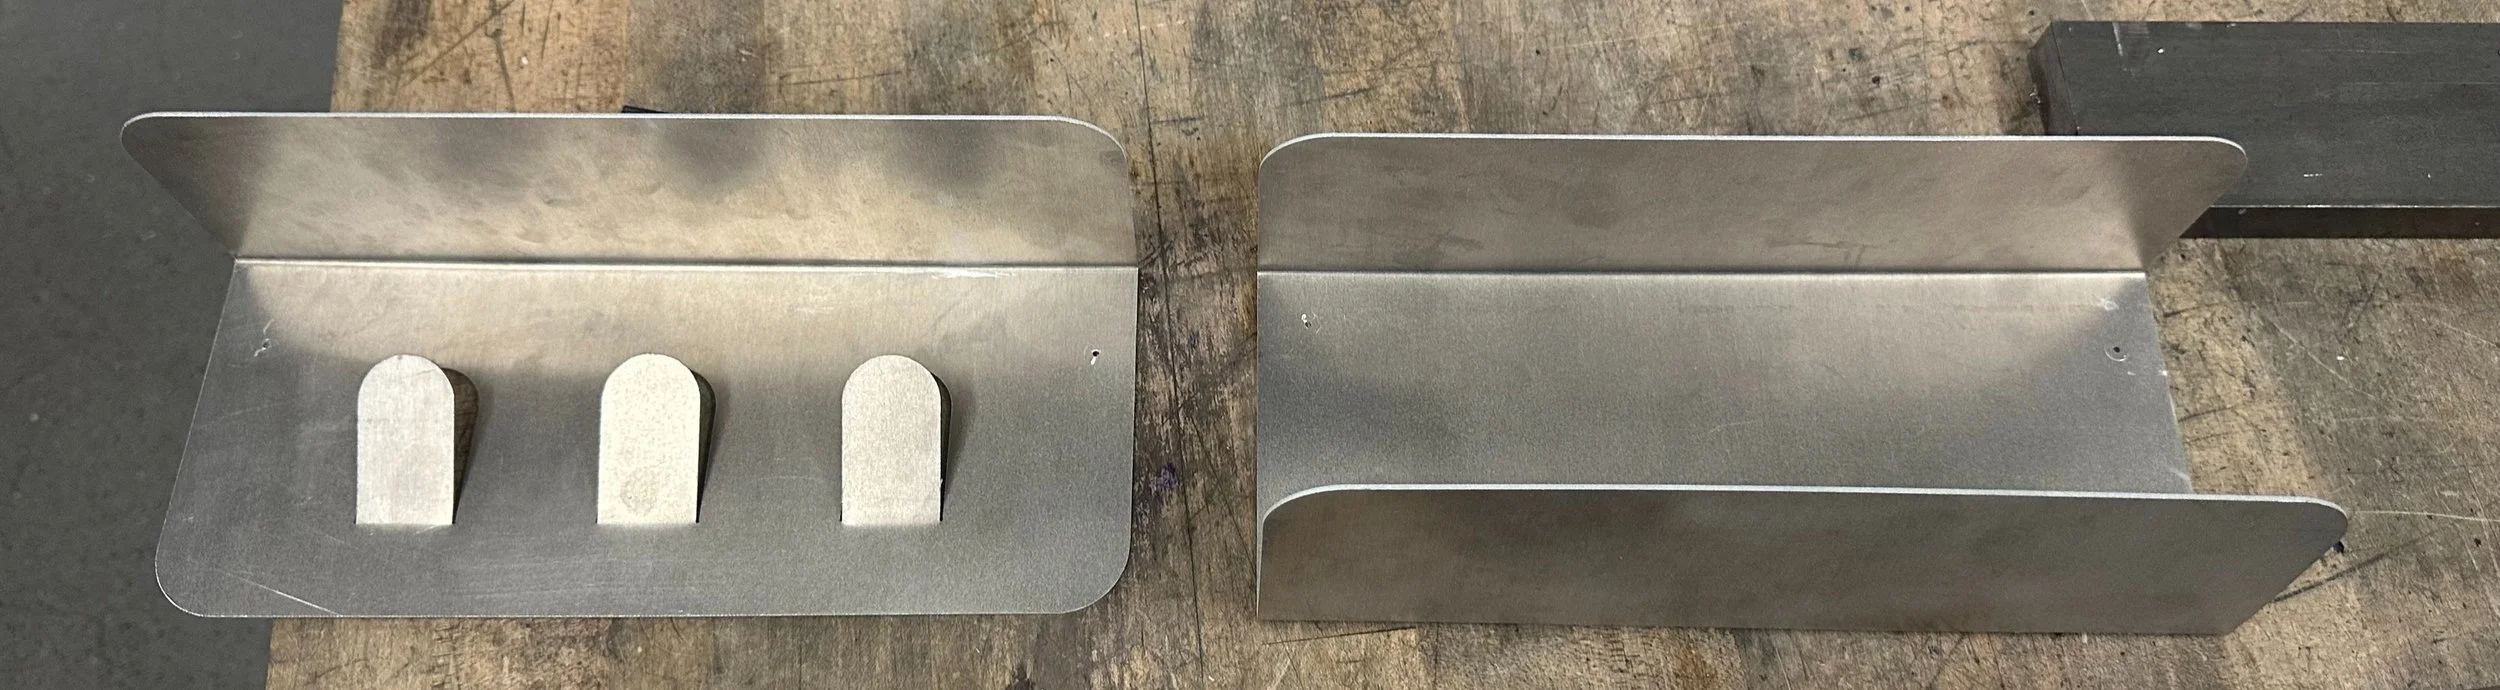
I fabricated these shelves out of a single 0.05" thick sheet of 5052, due to being easy to bend while still thick enough to be sturdy. I began by splitting my single 12”x24” sheet into 2 equally-sized sheets, then water jet them both. I then deburred the sharp edges and bent them where I had envisioned to an exact 90 degrees. For the bends in the hook, I just bent them by hand and estimated equal bends.
The final design was simple to install, as I had placed 2 small holes on each shelf and could nail them to the wall easily. I use the shelves daily as I enter and exit my room, and find that they’ve integrated themselves seamlessly into my room and habits.